Summer is synonymous with golden sands, crashing waves, and the inevitable desire to capture that perfect beach memory. However, stepping in front of the camera in swimwear can sometimes feel daunting. Whether you are an influencer, a photography enthusiast, or simply someone wanting to document a family vacation, knowing how to position your body can transform a good photo into a stunning one. Mastering bikini beach pose ideas isn’t just about vanity; it is about understanding composition, lighting, and body mechanics to present your most confident self.
In this comprehensive guide, we will explore the psychology of confidence, the technical aspects of beach photography, and detail seven distinct poses guaranteed to elevate your summer album. We will also cover essential tips on lighting and angles to ensure every shot is magazine-worthy.
The Psychology of the Perfect Shot: Confidence is Key
Before we dive into the specific angles, it is crucial to address the foundation of a great photo: confidence. According to research on self-perception and body image, how you feel internally translates directly to your posture and expression. If you feel uncomfortable, your shoulders will hunch, and your smile may appear forced.
To prepare for your shoot, choose swimwear that fits impeccably. Nothing kills the vibe of a photo shoot faster than constantly adjusting straps or tugging at fabric. When you feel secure in what you are wearing, you naturally stand taller. For the latest trends that combine comfort and style, check out Vogue’s swimwear guide.
Pre-Shoot Preparation: Setting the Scene
Great bikini beach pose ideas rely heavily on the environment. A crowded beach at noon offers a very different aesthetic than a secluded cove at sunset.
1. Timing is Everything
Photographers universally agree that the “Golden Hour”—the hour after sunrise and the hour before sunset—provides the most flattering light. The sun is lower in the sky, creating soft, diffused light that minimizes harsh shadows and cellulite. Conversely, shooting at high noon creates unflattering overhead shadows (often referred to as “raccoon eyes”). Learn more about Golden Hour photography to time your session perfectly.
2. Safety First
While getting the shot is important, protecting your skin is paramount. Sunburn not only damages your health but also causes redness that is difficult to edit out later. Always apply a high-quality SPF before your shoot. The Skin Cancer Foundation recommends applying sunscreen 30 minutes before sun exposure.
The 7 Flattering Bikini Beach Pose Ideas
Here are seven professionally curated poses designed to elongate the body, highlight your best features, and add dynamic interest to your photos.
1. The Classic “Bambi” Pose
Named after the seated position of the famous deer, this pose is a staple for a reason. It is incredibly effective at making the waist look smaller while highlighting the curve of the hips.
- How to do it: Kneel on the sand, then sit back onto your heels. Widen your knees slightly and arch your back. Place your hands on your thighs or lightly touching your hair.
- Why it works: By compressing the legs and arching the back, you create a smooth line from the shoulder to the hip. It eliminates the worry of how to position your legs while standing.
- Pro Tip: Keep your posture erect. Slouching in this position can compress the stomach area.
2. The Elongated “Barbie” Feet
When standing or lying down, never keep your feet flat (flexed) unless you are going for a specific athletic look. Pointing your toes extends the line of your leg, making you appear taller and leaner.
- How to do it: Imagine you are wearing high heels, even though you are barefoot. Lift your heels off the sand and balance on the balls of your feet. If lying down, point your toes away from the camera.
- Why it works: This engages the calf muscles and visually adds inches to your height. It is a technique borrowed from ballet and dance photography.
- Pro Tip: If standing, cross one leg over the other while pointing the toe of the front foot. This creates an hourglass shape.
3. The Triangle Method
Creating geometric shapes with your body is a fundamental rule of composition. Triangles create “negative space” between your limbs and your torso, which prevents the body from looking like a solid block.
- How to do it: Place one hand on your hip (creates a triangle with your arm) and pop one knee out to the side (creates a triangle with your legs). You can also do this lying down by bending one knee upward.
- Why it works: Negative space guides the viewer’s eye and slims the silhouette. See examples of geometric composition to understand why this is visually pleasing.
- Pro Tip: Don’t press your arm flat against your body; this “squishes” the arm, making it look wider. keep it slightly floating or on the hip.
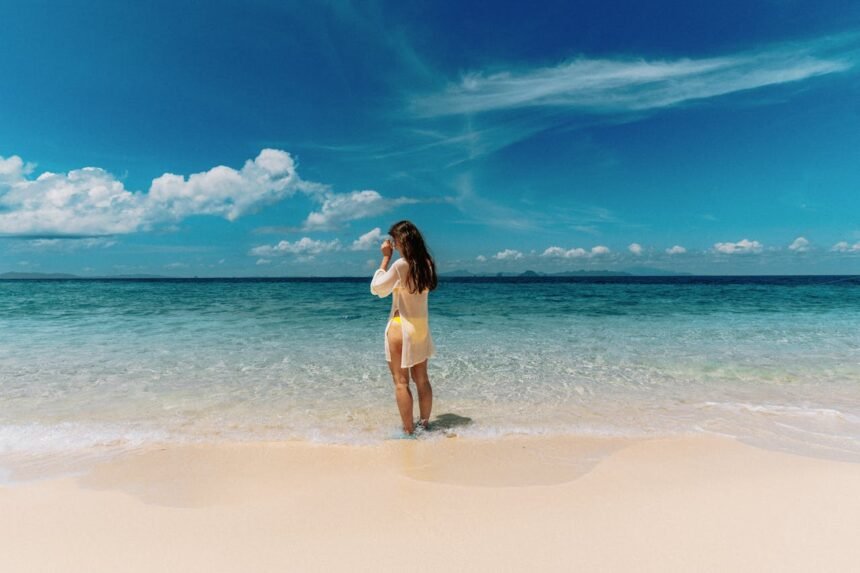
4. The “Walking Away” Candid
Movement often looks more natural than static posing. This pose is perfect if you are camera shy or want to show off the back details of your swimwear.
- How to do it: Walk slowly away from the camera toward the water. Look back over your shoulder and smile, or look down at the sand.
- Why it works: It tells a story—you are inviting the viewer into the scene. It feels less staged and more editorial.
- Pro Tip: Walk slower than you think you need to. This allows the photographer to capture the exact moment your hair blows in the wind or your foot hits the water. Consult Refinery29’s guide to candid photos for more movement ideas.
5. The Flat Lay (Looking Up)
Taking a photo from directly above while you lie on the sand can be incredibly high-fashion, but it requires specific angling to avoid distortion.
- How to do it: Lie on your back on a towel or the sand. Fan your hair out around your head. Have the photographer stand directly over you (standing on a chair or cooler helps) and shoot straight down.
- Why it works: Gravity flattens the stomach area, and the angle focuses on the face and décolletage.
- Pro Tip: Arch your back slightly off the sand and tilt your chin up just a fraction. This tightens the jawline.
6. The Prop Engagement
Props give you something to do with your hands, which is often the most awkward part of posing. Common beach props include a wide-brimmed hat, a refreshing drink, sunglasses, or a sarong.
- How to do it: Hold the brim of your hat, sip your drink, or play with your sunglasses.
- Why it works: It adds context to the photo. It’s not just a photo of you; it’s a photo of summer.
- Pro Tip: Ensure the prop matches the aesthetic. A neon green plastic cup might clash with a chic neutral bikini. Check Marie Claire’s accessory trends for inspiration.
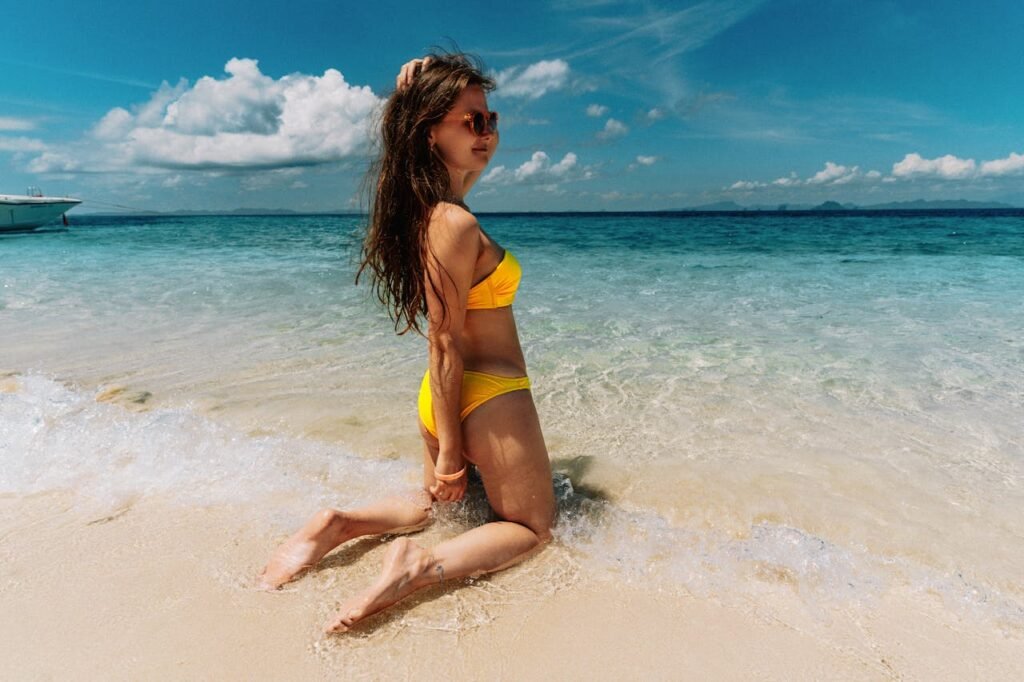
7. The Water Emergence
This is a dynamic pose that utilizes the texture of the ocean. It creates a “Bond Girl” aesthetic that is powerful and refreshing.
- How to do it: Stand in the water (about thigh or waist deep). Dip your hands in the water and lift them, or simply stand with your hands in your hair.
- Why it works: The water hides the lower body if you are self-conscious about your hips, focusing attention on the waist and upper body.
- Pro Tip: Watch out for waves! You don’t want to be toppled over mid-shot. Safety is key when shooting in the ocean.
Comparison: Static vs. Dynamic Posing
To help you decide which bikini beach pose ideas suit your style, we’ve broken down the differences between holding a still pose and adding movement.
| Feature | Static Posing (e.g., Bambi, Flat Lay) | Dynamic Posing (e.g., Walking, Splash) |
|---|---|---|
| Vibe | Editorial, Polished, Precise | Candid, Fun, Lifestyle, energetic |
| Difficulty | High (Requires body awareness) | Medium (Requires timing) |
| Best For | Showcasing the swimsuit details | Capturing the “mood” of the trip |
| Camera Setting | Standard Portrait Mode | Burst Mode / High Shutter Speed |
| Lighting | Needs precise lighting control | Forgiving of shifting light |
Technical Considerations for the Photographer
Even the best pose can fail if the camera technique is poor. If you have a friend taking your photo, give them these quick instructions:
- Shoot from a Lower Angle: Shooting from eye level is standard, but shooting from waist level (looking slightly up) elongates the subject’s legs. Read more on camera angles at Digital Photography School.
- Watch the Horizon Line: Ensure the horizon line of the ocean is straight. A crooked horizon ruins the professional feel of the image. Also, avoid having the horizon line cut directly through the subject’s neck.
- Use Burst Mode: For any movement poses, hold the shutter down. It’s better to have 50 photos to choose from than to miss the one second where the hair looked perfect.
Body Positivity and Editing
Finally, a note on post-processing. While it is tempting to use apps to alter body shape, true beauty lies in authenticity. Minor edits to lighting, contrast, and color grading can enhance the mood without distorting reality. Over-editing often results in the “uncanny valley” effect and can contribute to negative self-image. Resources like Healthline’s body positivity guide emphasize the importance of accepting your natural form.
Social media is a highlight reel. The photos you see online are curated, posed, and often edited. By using these posing techniques, you are simply presenting your best angle, not changing who you are.
Frequently Asked Questions (FAQ)
Q1: What should I do if I feel bloated on beach day?
A: Stick to poses that involve stretching or twisting. The “Bambi” pose or lying on your back (Flat Lay) are excellent for minimizing the appearance of bloating. High-waisted bikini bottoms are also a stylish solution.
Q2: How do I avoid a double chin in photos?
A: Elongate your neck and push your forehead slightly forward and down (like a turtle). It feels unnatural, but it tightens the skin under the jawline. Refer to WikiHow’s guide on photogenic faces for more facial tips.
Q3: What is the best color swimwear for photos?
A: Solid bright colors (red, blue, yellow) pop against the blue water and beige sand. Neon can look fantastic on tan skin, while white is a classic that reflects light onto the face.
Q4: Can I take good beach photos with just a smartphone?
A: Absolutely. Most modern smartphones have incredible cameras. Use “Portrait Mode” to blur the background, making you the focus. Clean your lens before shooting—sand and sunscreen often smudge the glass, resulting in blurry photos.
Q5: What time of day is worst for beach photos?
A: Noon (11:00 AM to 2:00 PM) usually offers the harshest light. If you must shoot then, try to find some shade under a palm tree or umbrella, or use a reflector to fill in shadows.
Conclusion
Mastering these bikini beach pose ideas allows you to take control of your image and create memories that you will love looking back on. Whether you choose the elongated grace of the “Barbie Feet” or the candid joy of the “Walking Away” shot, remember that the best accessory is a genuine smile. Summer is fleeting—capture it with confidence, creativity, and a splash of fun. Now, grab your sunscreen, your camera, and hit the beach!