Almond milk has rapidly ascended from a niche health food store item to a refrigerator staple in millions of households worldwide. Driven by the rising prevalence of lactose intolerance, which affects approximately 65% of the human population to some degree according to the National Institute of Diabetes and Digestive and Kidney Diseases, and a growing interest in plant-based nutrition, this nutty alternative offers a creamy texture and mild flavor that pairs perfectly with cereal, coffee, and smoothies.
While grocery store shelves are stocked with countless varieties, there is a significant difference between commercial products and the beverage you can create in your own kitchen. Store-bought versions often contain thickeners, stabilizers, and added sugars to mimic the mouthfeel of dairy milk. By contrast, making it at home allows you complete control over the ingredients, ensuring a nutrient-dense, preservative-free drink that tastes remarkably fresh. If you are exploring a plant-based lifestyle, mastering this simple recipe is a foundational skill that can improve both your culinary repertoire and your control over what enters your body.
Why Make Almond Milk at Home?
It is easy to wonder if the effort of making your own milk is worth it when a carton costs only a few dollars. However, when you inspect the ingredient labels of many popular brands, you will often find that almonds are not the first, second, or even third ingredient. Many commercial brands are primarily water and thickeners, such as guar gum, gellan gum, or carrageenan. Some research suggests that carrageenan may trigger inflammation in the gastrointestinal tract, leading many health-conscious consumers to avoid it, as noted in studies archived by the National Institutes of Health (NIH).
Homemade almond milk is vastly superior in flavor and texture. It is richer, creamier, and actually tastes like almonds. Furthermore, you can control the sweetness. Commercial “original” flavors often harbor hidden sugars. By making it yourself, you can utilize natural sugar alternatives like dates or maple syrup, or keep it entirely unsweetened to prevent blood sugar spikes. Additionally, making your own milk aligns with a zero-waste kitchen philosophy, as you can reuse the almond pulp for baking, ensuring nothing goes to the landfill.
Nutritional Benefits of Almonds
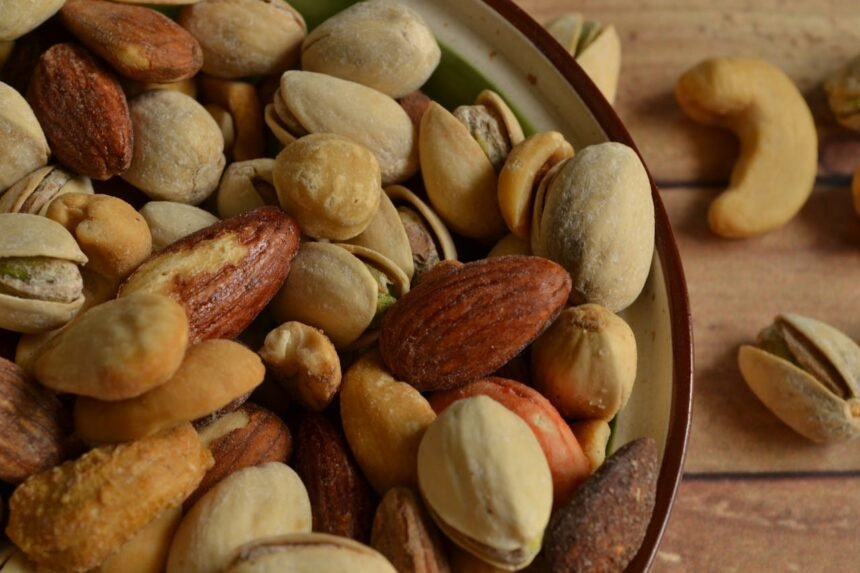
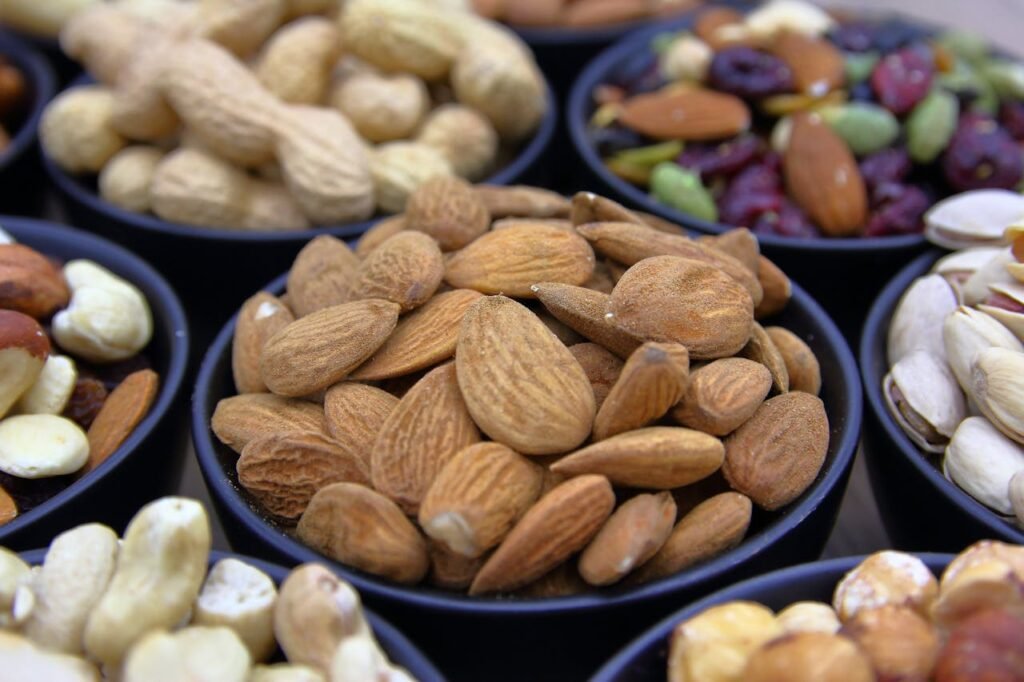
Before diving into the process, it is helpful to understand the nutritional powerhouse that is the almond. These nuts are rich in monounsaturated fats, which are associated with reduced risk of heart disease. The American Heart Association emphasizes that replacing saturated fats with monounsaturated fats can have a positive impact on your health.
Almonds are also an excellent source of Vitamin E, a fat-soluble antioxidant that protects your cells from oxidative damage. A single ounce of almonds provides about 37% of the recommended daily intake of Vitamin E, according to NIH nutritional data. While some fiber and protein are lost during the straining process of making milk, a significant amount of the water-soluble vitamins and healthy fats remain in the liquid. However, it is important to note that unlike cow’s milk, almond milk is naturally lower in protein. If you rely on milk for protein, you should ensure you are getting enough from other heart-healthy foods in your diet.
Step 1: Soaking the Almonds
The first and most critical step is soaking raw almonds. You should never skip this step. Soaking softens the nuts, making them easier to blend into a creamy consistency. More importantly, soaking activates the almonds. Raw nuts contain phytic acid and enzyme inhibitors that can make digestion difficult and inhibit nutrient absorption. Research published in PubMed discusses how reducing phytic acid can improve the bioavailability of minerals like iron and zinc.
Instructions: Place 1 cup of raw almonds in a glass bowl and cover them with water by about an inch. Add a pinch of sea salt. Let them sit on your counter for at least 8 hours, or overnight (up to 12 hours). If you are in a rush, you can soak them in very hot water for 1 hour, though the raw method preserves more nutrients. For more details on nutrient availability, read about the benefits of soaking nuts.
Step 2: Blending
Once the almonds have soaked, they will appear plump and the water may look cloudy. Drain and rinse the almonds thoroughly with cool, fresh water. Discard the soaking water; do not use it for the milk, as it contains the phytic acid you just removed.
Instructions: Add the rinsed almonds to a high-speed blender along with 4 cups of fresh, filtered water. This 1:4 ratio yields a consistency similar to 2% dairy milk. For a creamier, whole-milk texture, use 3 cups of water. Blend on the highest setting for 1 to 2 minutes. The water should turn opaque and white, and the almonds should be pulverized into a fine meal.
If you do not have a high-performance blender, you may need to blend longer. To see which appliances yield the smoothest results, check our guide on best blenders for 2024.
Step 3: Straining the Milk
To achieve that silky, smooth texture found in store-bought cartons, you must remove the almond pulp. While you can use a fine-mesh sieve, a dedicated nut milk bag is the best tool for the job. Cheesecloth can also work, but you may need to layer it multiple times to catch the fine sediment.
Instructions: Place your nut milk bag over a large mixing bowl. Pour the blender contents into the bag. Twist the top of the bag closed and use your hands to squeeze and press the liquid out. Be patient and squeeze until practically all the liquid is extracted and you are left with dry almond pulp inside the bag. This process can be surprisingly therapeutic and connects you directly to your food source. For those managing nut allergies in the family, ensure your equipment is thoroughly cleaned if it is used for other allergens.
Step 4: Flavoring and Storing
At this stage, you have unflavored, unsweetened almond milk. It has a neutral, slightly nutty taste. Now you can customize it.
Flavor Options:
- Sweetener: Add 1–2 pitted dates, a tablespoon of maple syrup, or a few drops of stevia.
- Vanilla: A teaspoon of pure vanilla extract adds a bakery-like aroma.
- Chocolate: Add 2 tablespoons of cocoa powder for a dairy-free chocolate milk.
- Sea Salt: A tiny pinch of salt enhances the natural flavors.
If you add flavorings, pour the milk back into the blender and blitz for 10 seconds to incorporate. Pour the finished milk into a sealed glass jar or bottle. It will stay fresh in the refrigerator for 3 to 4 days. Separation is natural; simply give it a good shake before pouring. This is a sign that your milk lacks artificial stabilizers, which is a good thing for those learning about understanding food labels.
What to Do with the Leftover Pulp
Do not throw away the almond pulp! This byproduct is essentially almond flour waiting to happen. It is rich in fiber and can be used in a variety of recipes. You can dry it in an oven at a low temperature to create almond meal, which is perfect for gluten-free baking. Alternatively, you can mix the wet pulp with dates, cacao, and coconut to make no-bake energy balls.
Using the whole nut ensures you are getting the full value of your grocery purchase. According to USDA data, almonds are calorie-dense, and much of the fiber remains in the pulp, so consuming the pulp in other forms ensures you don’t miss out on digestive benefits.
Important Considerations: Fortification and Iodine
While homemade almond milk is delicious, it is not nutritionally identical to cow’s milk. One major difference is calcium and Vitamin D. Commercial brands are fortified with these nutrients to match the profile of dairy. When you make it at home, you are not getting significant calcium unless you add it or consume other dairy-free calcium sources like leafy greens or fortified tofu.
Additionally, cow’s milk is a primary source of iodine in the American diet. If you cut out dairy completely, you risk iodine deficiency unless you consume iodized salt or sea vegetables. The NIH Office of Dietary Supplements highlights the importance of iodine for thyroid function. Always look at your diet holistically.
Furthermore, while almond milk is popular, it is worth noting the environmental impact regarding water usage. Growing almonds requires a significant amount of water. Research in environmental sustainability journals indicates that while almond milk uses less land and produces fewer greenhouse gases than dairy, it has a higher water footprint than oat or soy milk. This is a factor to consider for eco-conscious consumers.
The Bottom Line
Making homemade almond milk in 4 simple steps is an empowering way to take charge of your diet. It allows you to eliminate processed gums, control sugar levels, and enjoy a fresher, tastier product. By soaking, blending, straining, and flavoring, you create a beverage that supports a clean lifestyle.
However, remember that homemade versions lack the fortification of store-bought varieties. Ensure you are sourcing calcium, Vitamin D, and protein from other areas of your diet. If you are ready to experiment further, this method applies to hazelnuts, cashews, and even hemp seeds, opening the door to a wide variety of plant-based nutrition.