In the realm of gut health and functional foods, few beverages have garnered as much attention as kefir. Traditionally made from cow or goat milk, this fermented drink is renowned for its tart flavour and high probiotic content. However, for those navigating lactose intolerance, dairy allergies, or a vegan lifestyle, traditional kefir is often off the table. Enter coconut milk kefir, a creamy, tangy, and plant-based alternative that rivals its dairy counterpart in both taste and nutritional value.
Making this dairy-free probiotic drink at home is not only cost-effective but also allows you to control the ingredients, ensuring a pure and potent product. Unlike store-bought versions which may contain thickeners and added sugars, homemade kefir is alive with active bacterial cultures that can actively colonise the gut.
This guide will walk you through the science, the method, and the benefits of creating this fermented coconut beverage. We will explore how it supports your microbiome and fits into a holistic wellness routine, similar to Exploring the Health and Digestive Coconut Vinegar Benefits, another fermented coconut powerhouse.
The Science: Why Choose Coconut Kefir?
Gut Microbiome Support
The primary reason most people turn to kefir is for gut microbiome support. The human gut is home to trillions of bacteria that influence everything from digestion to mood. According to the NHS, probiotics are live bacteria and yeasts promoted as having various health benefits, particularly for the digestive system.
Coconut milk kefir contains a broad spectrum of beneficial bacteria and yeasts, often far more diverse than plain yoghurt. When you consume this beverage, you are introducing these beneficial organisms to your digestive tract, where they can help balance the flora, potentially aiding in digestion and immune function. Research from Harvard Health suggests that maintaining a healthy gut microbiome is crucial for overall well-being.
Nutritional Profile
Aside from probiotics, coconut milk provides medium-chain triglycerides (MCTs), a type of fat that is easily metabolised by the body for energy. For a deeper dive into the raw ingredients, you might want to read A Detailed Look at Raw Coconut Meat Nutrition and Health Facts.
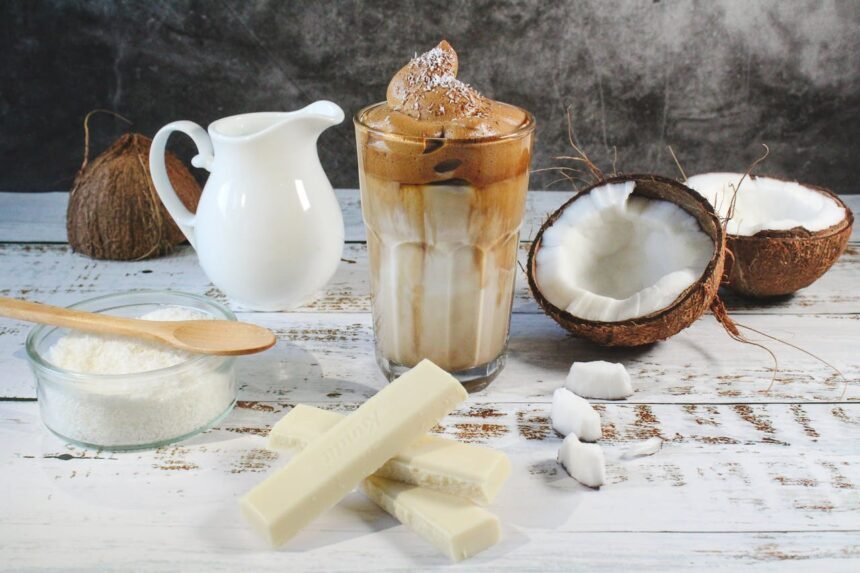
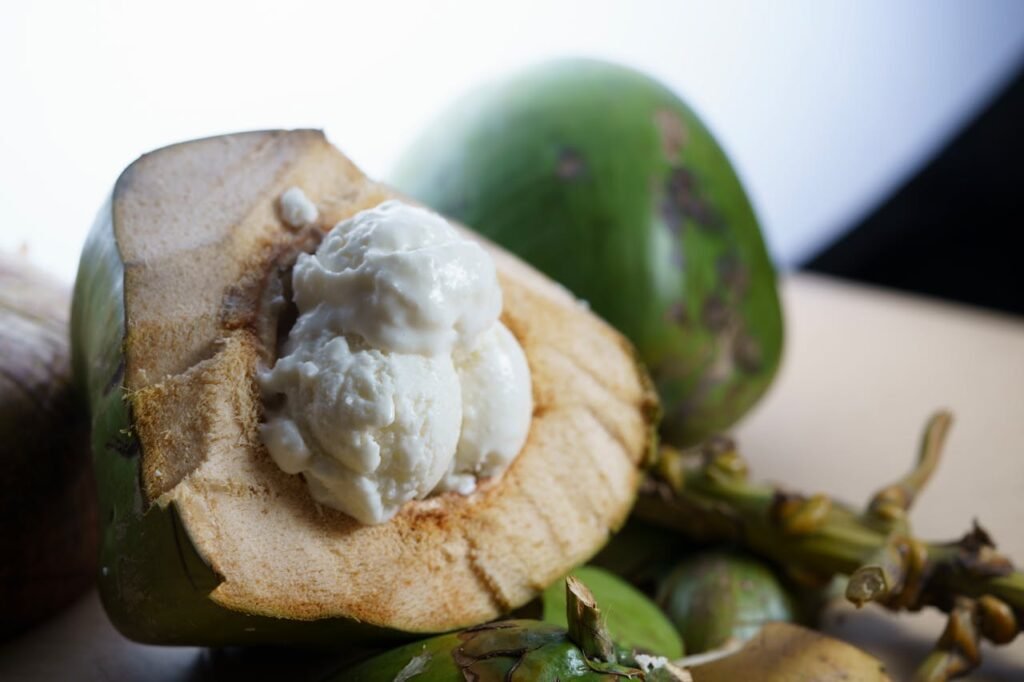
It is essential to distinguish between water kefir vs milk kefir. Water kefir is made with sugar water and fruit, while milk kefir (including coconut) uses a fat and protein base. The best coconut milk for kefir is typically full-fat canned milk without guar gum, as additives can sometimes interfere with the fermentation process or cause odd textures. Alternatively, you can make your own milk from How to Use Coconut Cream Powder in Your Daily Recipes for a convenient base.
Systemic Benefits
The benefits often extend beyond the gut. Many enthusiasts report improvements in skin clarity, leading to interest in coconut kefir benefits for skin. While topical applications are popular, such as Managing Your Symptoms: Using Coconut Oil Psoriasis Treatments, internal health often reflects externally. A balanced gut can reduce systemic inflammation, which is a common trigger for skin issues.
How to Make It: The Process
Learning how to ferment coconut milk is surprisingly simple, but it requires attention to detail and hygiene to ensure a safe and delicious result.
Ingredients and Equipment
To begin this lactose-free kefir recipe, you will need:
- Kefir Grains: You specifically need milk kefir grains. If you are strictly vegan, you may need to source vegan kefir grains that have been transitioned from dairy to coconut, or use a powdered starter culture.
- Coconut Milk: 1 can (400ml) of full-fat coconut milk. Ensure it is at room temperature.
- Sweetener (Optional): A teaspoon of sugar or maple syrup. Bacteria need carbohydrates to thrive, and sometimes coconut milk alone doesn’t provide enough rapid fuel for the grains. Read Is Coconut Sugar Keto Friendly? Everything You Need to Know if you are monitoring carbohydrate intake.
- Glass Jar: A clean, sterilised glass jar. Avoid metal, as it can react with the acidic kefir.
- Covering: A breathable cloth (cheesecloth or a coffee filter) and a rubber band.
Step-by-Step Instructions
- Preparation: Pour the coconut milk into your clean glass jar. If the milk is separated, give it a gentle whisk to combine, but avoid creating too many bubbles.
- Inoculation: Add your milk kefir grains or powdered starter to the coconut milk. If using grains, use a plastic or wooden spoon, as metal can damage them.
- Fermentation: Cover the jar with the breathable cloth and secure it with a rubber band. This keeps debris and fruit flies out while allowing gases to escape.
- The Wait: Place the jar in a warm spot out of direct sunlight. Let it ferment for 12 to 24 hours. The time depends on the temperature of your home; warmer homes ferment faster.
- Harvesting: After 24 hours, the mixture should smell tangy and slightly sour, like yoghurt. Strain the grains out using a plastic sieve. Save the grains for your next batch.
- Chilling: Store the finished kefir in the fridge. It will thicken slightly as it cools.
For those interested in other hydration methods alongside their probiotics, consider reading The Ultimate Guide to Using Coconut Water Powder for Hydration.
Troubleshooting and Management
Separation Issues
A common occurrence is coconut milk kefir separation, where the whey separates from the solids. This is entirely normal. According to Healthline, separation often indicates a strong fermentation. Simply stir it back together before drinking, or blend it with fruit.
Adjusting the Taste
If your kefir is too sour, you fermented it for too long. If it is too sweet, it needs more time. Finding the balance is key to creating gut health recipes that you actually enjoy drinking. For savory applications, you might look into Finding the Best Coconut Aminos Substitute for Your Cooking to pair with your probiotic intake.
Safety First
While home fermentation is generally safe, it is vital to be aware of hygiene. The FDA emphasizes keeping preparation areas clean. If your kefir develops pink, orange, or black mould, or smells like rotting food rather than sour milk, discard it immediately. For a broader look at safety and detox myths, check out Does a Coconut Oil Detox Really Help Cleanse Your Body?.
Tips for Success
Secondary Fermentation
To elevate the flavour, consider a secondary fermentation. After straining the grains, add fruit puree, vanilla, or spices to the liquid kefir and let it sit at room temperature for another 4-12 hours. This is one of the best secondary fermentation ideas for creating a fizzy, soda-like beverage.
Grain Care
Milk kefir grains prefer lactose. If you continuously brew in coconut milk, the grains may eventually weaken because they are not getting their preferred food source. To keep them healthy, rotate them back into dairy milk every few batches to revitalize them. See Frontiers in Microbiology for detailed studies on the microbial composition of kefir grains.
Sustainable Living
Making homemade fermented drinks aligns well with a sustainable lifestyle, reducing plastic waste from store-bought yoghurt bottles. To serve your creations aesthetically, read Sustainable Living: Why Every Kitchen Needs a Coconut Shell Bowl.
Dietary Considerations
Coconut kefir is naturally gluten-free and vegan (if using vegan grains). It is an excellent addition to a probiotic-rich foods list for those with inflammatory conditions. However, always consult a dietician if you have severe dietary restrictions. The Cleveland Clinic offers great resources on managing dairy-free diets.
Also, consider holistic oral health; while kefir is acidic and should be rinsed from teeth, other coconut products can help, as discussed in Does Coconut Charcoal Teeth Whitening Actually Work?.
The Bottom Line
Making coconut milk kefir at home is a rewarding process that yields a potent, dairy-free probiotic drink. It offers a wealth of benefits, from gut microbiome support to potential improvements in general immunity.
By controlling the ingredients, you avoid the gums, stabilisers, and excessive sugars found in commercial varieties. Whether you consume it straight, blend it into smoothies, or use it as a base for creamy dressings, it is a versatile addition to any diet.
Remember to start with a small amount—perhaps a tablespoon—to let your body adjust to the influx of probiotics. As with any dietary change, listen to your body. For more information on the benefits of fermented foods, visit the NCCIH.
With a little patience and the right ingredients, you can master this fermented coconut beverage and take a proactive step toward better health. For further reading on the nutritional density of coconut products, WebMD provides excellent overviews. Furthermore, understanding the broader context of fermentation can be found at the Mayo Clinic, ensuring your journey into home culturing is safe and effective.