Green beans are a versatile staple in kitchens worldwide, prized for their vibrant colour and satisfying crunch. However, achieving that perfect texture—tender yet crisp—can be elusive. If you have ever suffered through grey, mushy beans or tough, rubbery pods, the culprit is likely the cooking method. The secret to culinary perfection lies in blanching green beans.
Blanching is a cooking process wherein a food, usually a vegetable or fruit, is scalded in boiling water or steam for a short time, and then quickly cooled in ice water to stop the cooking process. While it sounds like a simple chef’s trick, it is actually a scientifically grounded method for preserving flavour, texture, and nutrition.
Whether you are preparing a fresh salad, a side dish for a Sunday roast, or prepping your harvest for the freezer, mastering this technique is essential. This guide explores the science behind the crunch, the step-by-step method, and the nutritional implications of blanching.
The Science: Why We Blanch
To understand why blanching green beans is superior to simply boiling them until done, we must look at the cellular structure of the vegetable. Green beans contain enzymes that cause loss of flavour, colour, and texture.
Enzyme Activity
According to the National Center for Home Food Preservation, blanching is crucial because it stops enzyme actions which can cause loss of flavour, colour and texture. If these enzymes are not deactivated by heat, they continue to work even when the beans are frozen, leading to spoilage.
Chlorophyll Preservation
The vibrant green colour of the bean comes from chlorophyll. When heated, the gases trapped between the vegetable’s cells expand and escape. Initially, this makes the green colour pop, appearing brighter. However, prolonged exposure to heat and the plant’s own natural acids will eventually convert chlorophyll into pheophytin, which turns the vegetable a drab olive-grey.
Blanching halts the cooking process at the exact moment the colour is brightest, locking in that vivid green hue before the chemical degradation begins.
Texture and Pectin
The crispness of a green bean is determined by pectin, a structural heteropolysaccharide contained in the cell walls. Heat breaks down pectin. By boiling briefly and then shocking the beans with cold, you soften the cell walls just enough to make them palatable while retaining the structural integrity that provides the ‘snap’.
Nutritional Profile: Does Blanching Destroy Nutrients?
A common concern regarding boiling vegetables is nutrient loss. It is true that water-soluble vitamins, specifically Vitamin C and B-complex vitamins, can leach into cooking water. However, because blanching is a rapid process, the loss is significantly lower than with traditional boiling or stewing.
In fact, blanching can be beneficial. It cleanses the surface of dirt and organisms, brightens the colour and helps retard loss of vitamins. According to Healthline, green beans are a rich source of vitamins A, C, and K, as well as fibre and folic acid. Quick cooking methods are often best for retaining these delicate nutrients.
Here is a quick comparison of nutrient retention:
| Nutrient | Impact of Blanching |
|---|---|
| Vitamin C | Slight loss due to water solubility, but better retention than long boiling. |
| Vitamin A | generally stable during blanching. |
| Antioxidants | Heat can actually increase the bioavailability of certain antioxidants. |
| Fibre | Remains intact and unaffected. |
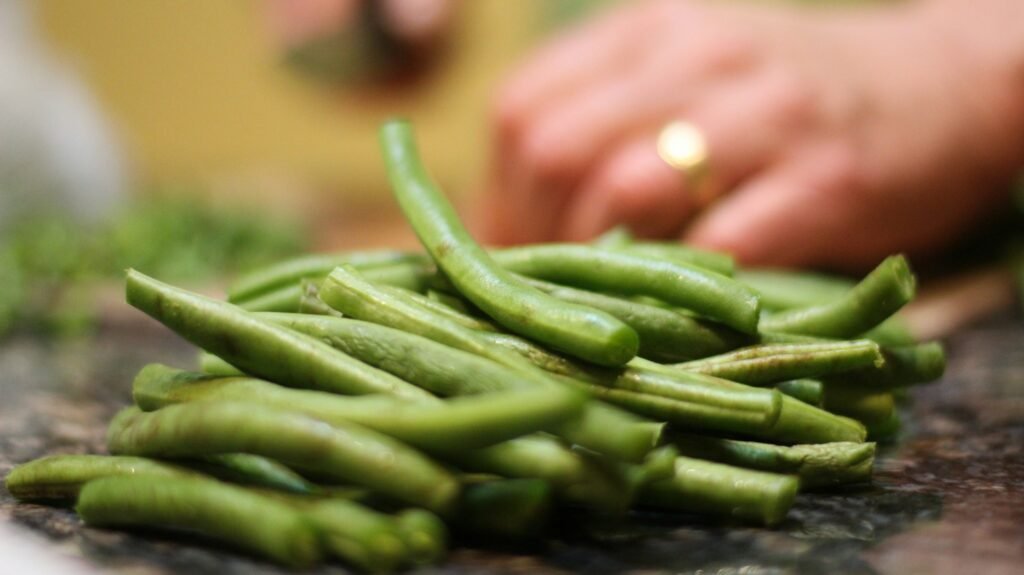
Preparation: Choosing Your Beans
Before you begin blanching green beans, selection is key. In the UK, you will typically find ‘Fine beans’ (Kenyan beans), Runner beans, or standard French beans.
Look for pods that are firm and snap easily when bent. Avoid beans that are limp, shrivelled, or have brown spots. Freshness matters; as soon as a bean is picked, its natural sugars begin converting to starch, which can affect the taste.
Preparation Steps:
- Wash thoroughly: Rinse the beans under cold running water.
- Trim: Snap off the woody stem ends. The tapered ‘tail’ end can be left on for aesthetic purposes if it is not tough.
- Size: If using long runner beans, slice them diagonally into manageable pieces. For French beans, they are often left whole.
The Step-by-Step Guide to Blanching
Achieving the perfect blanch requires precision. It is not merely boiling water; it is about timing and thermal shock.
1. The Setup
You will need a large pot of water and a bowl filled with ice and cold water. Using a large volume of water helps maintain a rolling boil when the beans are added.
The Salt Ratio: Salt is essential not just for seasoning, but to help preserve chlorophyll. Aim for water that tastes like the sea—roughly 1 tablespoon of salt per litre of water.
2. The Boil
Bring your salted water to a vigorous, rolling boil. Carefully add the green beans. Do not overcrowd the pot; if the water temperature drops too drastically, the beans will stew rather than blanch, leading to mushy textures. If you have a large batch, work in smaller groups.
3. The Timing
Timing is critical and depends on the size of the bean.
- Small/Fine Beans: 2 minutes
- Standard Green Beans: 3 minutes
- Thick Runner Beans: 3 to 4 minutes
Taste a bean 30 seconds before the time is up. It should be tender-crisp—cooked through but with a definitive bite. It should not squeak against your teeth (undercooked) nor disintegrate (overcooked).
4. The Ice Bath (Shocking)
As soon as the timer goes off, drain the beans and immediately plunge them into the ice water. This is known as ‘shocking’.
This step stops the residual heat from continuing to cook the bean. According to culinary science resources like Serious Eats, failing to shock vegetables is the most common reason for overcooked results. Leave them in the ice bath for the same amount of time they were boiled (e.g., 3 minutes).
5. Drying
Once cool, drain the beans well. Excess moisture can dilute dressings or cause freezer burn if you intend to store them. Pat them dry with a clean tea towel or paper towel.
Storing and Freezing
Blanching is the gold standard for pre-freezing preparation. If you freeze raw green beans, the enzymes remain active, resulting in a horrible texture and off-flavour upon thawing.
According to the NHS Live Well, proper storage is vital for food safety. Once blanched and dried:
- Place beans in a single layer on a baking sheet.
- Freeze for 1–2 hours (flash freezing).
- Transfer to airtight freezer bags.
This prevents the beans from clumping together, allowing you to grab a handful whenever needed. They will keep for 8–12 months.
Practical Tips and Common Mistakes
Even with a simple process, things can go wrong. Here are professional tips to ensure success.
Do Not Cover the Pot
Boiling with the lid off allows volatile acids to escape. If you cover the pot, these acids condense on the lid and drip back into the water, turning the water acidic and your beans grey.
Use Adequate Water
The USDA suggests using one gallon (approx. 3.8 litres) of water per pound of prepared vegetables. This ensures the heat recovery time is short once the cold vegetables are added.
Don’t Skip the Salt
While many are watching their sodium intake, the amount of salt absorbed by the bean during a 3-minute boil is negligible compared to the flavour benefits. It penetrates the vegetable in a way that sprinkling salt later cannot.
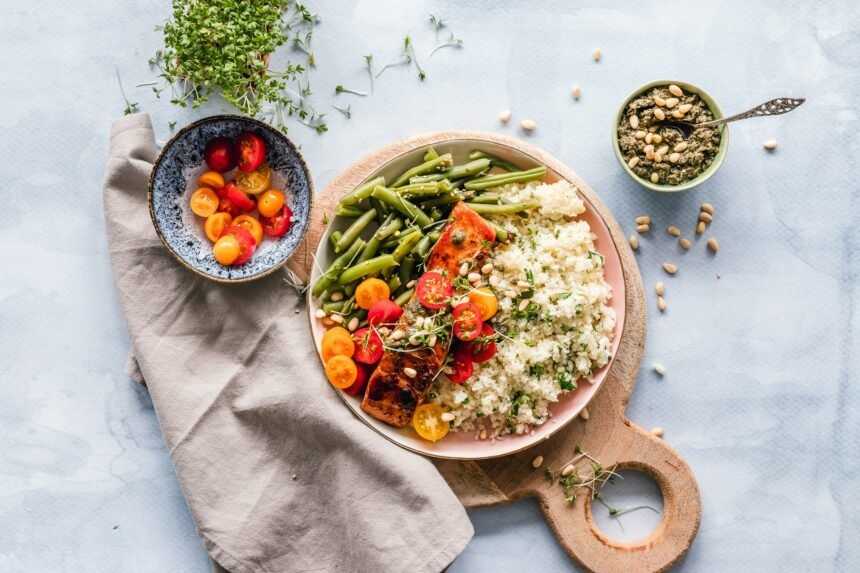
Creative Uses for Blanched Beans
Once blanched, your beans are essentially cooked and ready to eat cold or quickly reheated.
- Salad Niçoise: The classic French application.
- Garlic Sauté: Toss blanched beans in a hot pan with butter and garlic for 60 seconds to reheat.
- Crudités: Serve chilled with hummus or dip.
Environmental and Safety Considerations
When handling fresh produce, hygiene is paramount. The FDA recommends washing all produce thoroughly under running water before preparing.
Furthermore, sourcing locally grown beans when possible can reduce your carbon footprint. According to the British Nutrition Foundation, choosing seasonal produce often ensures higher nutrient content and better flavour.
Alternatives to Blanching
While this guide focuses on blanching green beans, it is helpful to understand how it compares to other methods.
- Steaming: Keeps nutrients high but makes it harder to control the exact ‘doneness’ and sets the colour less effectively than boiling water.
- Roasting: Creates a completely different flavour profile—sweet and caramelised rather than fresh and crisp. See the Mayo Clinic for guides on healthy cooking techniques like roasting.
- Microwaving: Fast, but often results in uneven cooking and rubbery textures for green beans.
For the classic, snappy green bean found in restaurant dishes, blanching remains the undefeated champion.
The Bottom Line
Blanching green beans is a fundamental culinary skill that bridges the gap between raw potential and cooked perfection. It preserves the structural integrity of the cell walls, locks in beneficial vitamins, and maintains that appetising emerald colour.
By following the ‘boil, shock, dry’ method, you ensure that your vegetables are never mushy or bland. Whether you are meal-prepping for the week, freezing a bumper harvest, or cooking a dinner party side dish, this technique guarantees professional results every time.
Remember to use plenty of salted water, time your boil precisely, and never skip the ice bath. Your palate—and your health—will thank you.
Helpful Resources
- Harvard T.H. Chan School of Public Health – The Nutrition Source: Vegetables and Fruits
- BBC Good Food – How to cook green beans
- University of Minnesota Extension – Preserving Green Beans