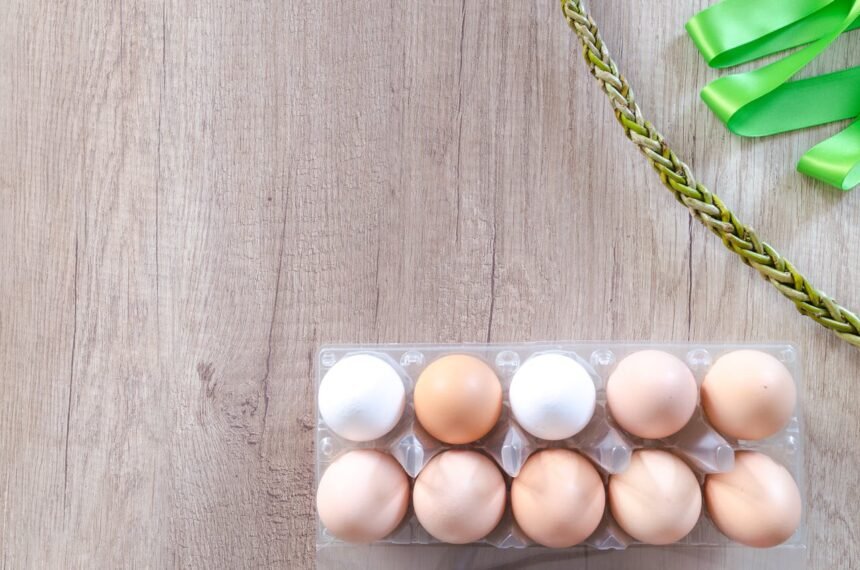
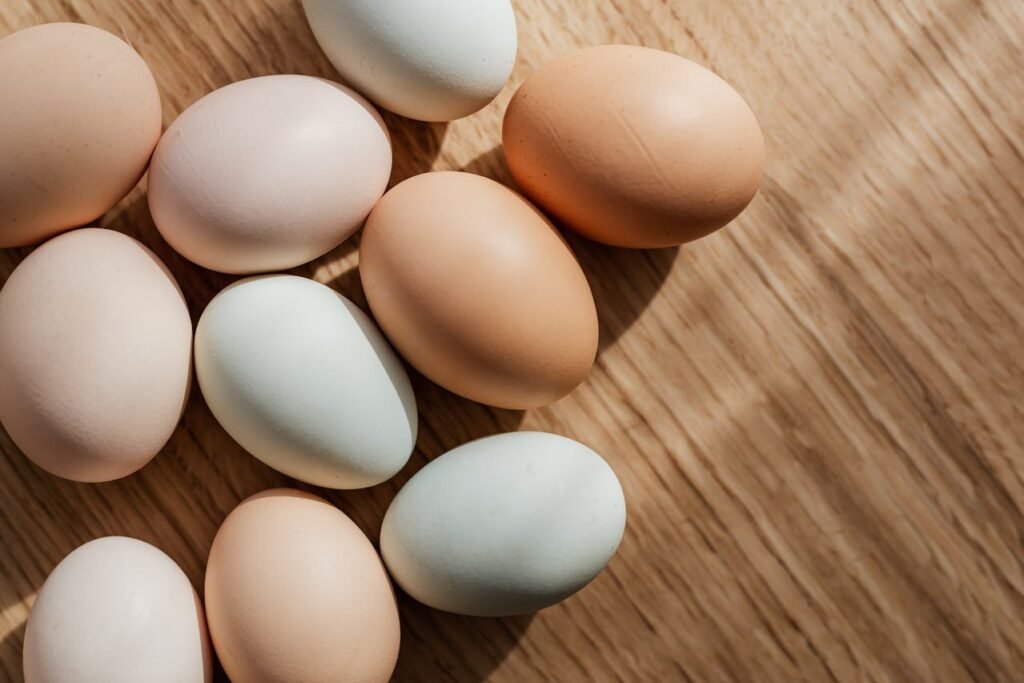
We have all been there at some point in our culinary journeys. You fancy a warm, comforting breakfast, so you drop an egg into boiling water. You anticipate a luscious, runny yolk perfect for dipping your toast soldiers. Yet, upon peeling away the shell, you are greeted with a chalky, overcooked centre and a rubbery white that lacks all appeal. Conversely, you might aim for a solid hard-boiled egg for a salad, only to find the white barely set and the yolk entirely liquid.
Boiling an egg sounds deceptively simple. It is, after all, just one ingredient and water. However, achieving the perfect consistency requires a basic understanding of thermodynamics and timing. It is less about luck and more about precision. The difference between a soft-boiled egg and a hard-boiled one is often a matter of seconds, not minutes.
Furthermore, the dreaded “green ring” around the yolk or a shell that refuses to detach cleanly can ruin the experience entirely. Whether you are meal-prepping for the week or preparing a Sunday brunch, mastering this skill is essential. This guide covers the science, the timing, and the specific steps to ensure you get it right every single time.
What Happens When You Boil an Egg?
To understand the perfect boil, it helps to understand the science happening inside the shell. An egg is essentially a sealed vessel of proteins and water. When you apply heat, these proteins—specifically ovalbumin in the white and vitellogenin in the yolk—begin to denature. This means they unravel and form new bonds, changing the egg from liquid to solid.
This process, known as coagulation, happens at different temperatures for different parts of the egg. Egg whites begin to set at around 60°C to 65°C, while the yolk requires a slightly higher temperature, typically between 65°C and 70°C, to firm up completely. If you exceed these temperatures significantly or cook the egg for too long, the proteins tighten excessively. This squeezes out water, resulting in that unpleasant rubbery texture.
Additionally, the greenish-grey ring that sometimes appears around the yolk of a hard-boiled egg is caused by a chemical reaction between sulfur in the white and iron in the yolk. This forms ferrous sulfide. While entirely harmless, it indicates the egg has been overcooked. By controlling the temperature and timing, you can preserve the vibrant yellow colour and creamy texture of the yolk.
The Step-by-Step Guide to Perfect Eggs
There are two primary schools of thought regarding boiling eggs: the cold water start and the boiling water start. While the cold water method is traditional, starting with boiling water offers more consistency and makes peeling significantly easier. The thermal shock of hot water helps separate the membrane from the shell.
1. Preparation and Water Level
Choose a saucepan large enough to hold your eggs in a single layer. Do not stack them, as this leads to uneven cooking. Fill the pan with enough water to completely submerge the eggs by at least an inch. Bring this water to a rolling boil over high heat before introducing the eggs.
If you keep your eggs in the fridge, it is beneficial to let them sit at room temperature for a few minutes, though not strictly necessary if you are careful. Lowering a fridge-cold egg into boiling water can sometimes cause the shell to crack due to the rapid expansion of gases inside. To mitigate this, you can gently prick the large end of the shell with a pin or simply lower the egg very slowly.
2. The Gentle Lowering
Once your water is boiling, reduce the heat to a simmer. Using a slotted spoon, lower the eggs gently into the water one by one. Do not drop them, as they will likely crack against the bottom of the pan. Once all eggs are in, increase the heat slightly to maintain a gentle simmer—not a violent boil, which can toss the eggs around and break the shells.
3. Precise Timing is Key
Set a timer immediately. Guesswork is the enemy of the perfect egg. The timing depends entirely on your desired outcome.
- 6 Minutes: This produces a set white and a completely runny yolk. This is the classic “dippy egg” texture.
- 7 Minutes: The white is fully firm, and the yolk is jammy and gooey but not runny. This is often ideal for ramen or avocado toast.
- 8 Minutes: The yolk is set but still soft and creamy. It is no longer liquid but retains a rich, velvety texture.
- 10–12 Minutes: The traditional hard-boiled egg. The yolk is pale yellow and fully crumbly. This stage is best for egg mayonnaise or devilled eggs.
4. The Ice Bath Shock
This is the most critical step that many people skip. While your eggs are cooking, prepare a bowl filled with cold water and ice cubes. The moment your timer goes off, remove the eggs with your slotted spoon and plunge them immediately into the ice bath.
This process does two things. First, it stops the cooking process instantly, preventing that residual heat from overcooking your yolk. Second, the rapid cooling causes the egg white to contract slightly inside the shell, pulling away from the membrane. This makes peeling the egg effortlessly simple later on.
Troubleshooting: Why Won’t My Egg Peel?
There is nothing more frustrating than picking away tiny shards of shell and taking half the egg white with it. Aside from the thermal shock of the ice bath, the freshness of the egg plays a massive role.
Paradoxically, extremely fresh eggs are harder to peel. As an egg ages, the pH of the white increases (becomes less acidic), which helps the white detach from the inner shell membrane. If you have just bought a fresh box with the British Lion mark, you might find them trickier to peel than eggs that have been in your fridge for a week.
For very fresh eggs, steaming them instead of boiling them can sometimes yield better peeling results. However, sticking to the “boiling water start” followed by an “ice bath finish” is generally the most reliable method for eggs of any age.
Nutritional Benefits of Boiled Eggs
Eggs are often described as a nutritional powerhouse. They provide a compact source of high-quality protein, essential fats, and vitamins.
One large boiled egg contains approximately:
- Protein: 6 grams of high biological value protein, containing all nine essential amino acids.
- Choline: A vital nutrient for brain health and cell membrane function.
- Vitamin D: Essential for bone health and immune function.
Historically, people worried about the cholesterol content in eggs. However, modern research, including data from the British Heart Foundation, suggests that for most people, dietary cholesterol has a smaller effect on blood cholesterol levels than saturated fat does. Therefore, eggs can be part of a heart-healthy diet when consumed in moderation.
Furthermore, eggs are an excellent snack for those managing blood sugar levels, such as individuals with type 2 diabetes, as they have a negligible impact on glucose spikes compared to carbohydrate-heavy breakfast options.
Timings and Textures at a Glance
Use this reference table to match your boiling time to your culinary needs.
| Boiling Time | Yolk Texture | White Texture | Best Use Case |
|---|---|---|---|
| 6 Minutes | Liquid / Runny | Soft Set | Breakfast with toast soldiers (dippy eggs). |
| 7 Minutes | Jammy / Gooey | Firm | Ramen, salads, avocado toast. |
| 8 Minutes | Soft Set / Creamy | Firm | Scotch eggs, snacking. |
| 10 Minutes | Firm / Pale Yellow | Firm | Salads, sandwiches. |
| 12 Minutes | Dry / Crumbly | Very Firm | Devilled eggs, egg mayonnaise. |
Frequently Asked Questions
How long do hard-boiled eggs last?
According to storing eggs safely guidelines, hard-boiled eggs can be stored in the fridge for up to one week. Ensure they are kept in a sealed container to prevent them from absorbing odours from other foods.
Is it safe to eat runny yolks?
For a long time, vulnerable groups were advised to avoid runny eggs. However, due to improved food safety standards, the NHS confirms that infants, children, pregnant women, and the elderly can safely eat raw or lightly cooked eggs, provided they bear the British Lion Quality mark.
Should I add vinegar or salt to the water?
Some people believe adding vinegar helps peeling or prevents cracking. While acid can help coagulate the white faster if the shell cracks, it is not strictly necessary for peeling if you use the boiling water start method.
Why is my yolk grey or green?
As mentioned, this is a sign of overcooking. It is the result of iron in the yolk reacting with sulfur in the white. It is perfectly safe to eat but may have a slightly sulphurous taste and a dry texture.
The Bottom Line
Boiling an egg is a fundamental kitchen skill that combines simple chemistry with precise timing. By starting with boiling water and finishing with an ice bath, you can ensure easy peeling and avoid the disappointment of rubbery whites or green yolks.
Whether you need a high-quality protein snack or a soft-boiled comfort meal, following these steps will yield consistent results. Remember that egg size and altitude can slightly affect timing, so feel free to adjust by 30 seconds either way to find your personal perfection.
Eggs are a versatile, affordable, and nutritious addition to a balanced diet. With the right technique, you can enjoy them exactly how you like them, every single time. For more on safety and standards, you can always check the latest marketing standards for eggs provided by the government. Happy cooking!
