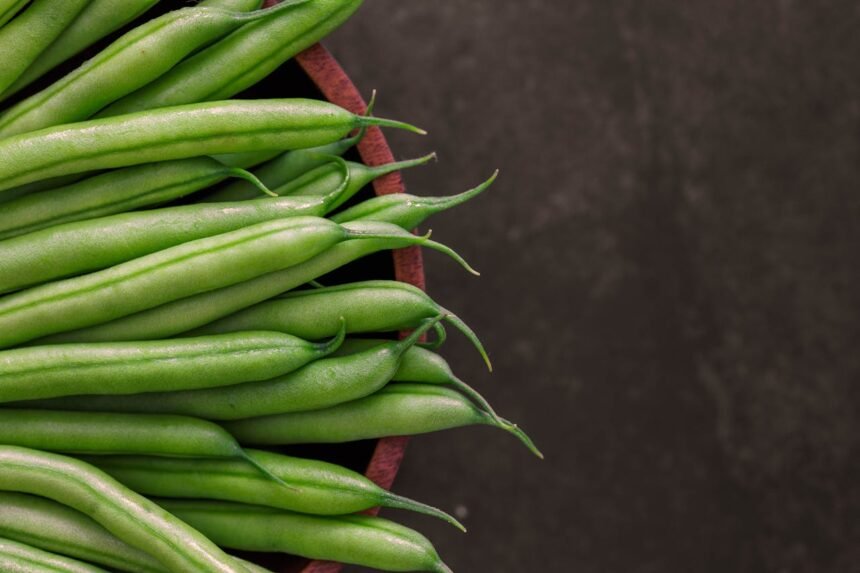
Green beans are a staple of a healthy diet, offering a satisfying crunch and a wealth of essential nutrients. Whether you grow your own runner beans in the garden or capitalise on seasonal sales at the local market, knowing how to preserve them is essential. While canning is an option, freezing green beans is widely considered the superior method for retaining texture, colour, and nutritional value.
However, simply throwing raw beans into the freezer often leads to disappointing results—mushy textures and a loss of that vibrant green hue. To preserve the quality of your harvest, a specific process involving blanching must be followed.
This article explains the science behind preserving vegetables and details the step-by-step process for freezing green beans to ensure they remain delicious for months to come.
Why Freeze Green Beans? The Science of Preservation
Before diving into the method, it is helpful to understand what happens to vegetables after they are harvested. Almost immediately after picking, the sugars in green beans begin to convert into starches, and the vegetable begins to lose moisture.
The Role of Enzymes
Vegetables contain natural enzymes that regulate their growth and maturation. After harvest, these enzymes continue to function. If left unchecked, they cause the loss of flavour, colour, and texture. Additionally, they breakdown valuable nutrients such as Vitamin C and B-complex vitamins.
According to the National Center for Home Food Preservation, freezing slows down this enzymatic activity but does not stop it completely. This is why raw green beans often degrade in the freezer after just a few weeks.
Nutritional Retention
One of the primary benefits of freezing green beans is the preservation of their nutritional profile. Green beans are rich in Vitamin K, Vitamin C, and fibre. Research suggests that freezing vegetables shortly after harvest can lock in these nutrients more effectively than storing fresh produce in the fridge for several days.
To maximise this benefit, speed is key. The shorter the time between harvest and the freezer, the more vitamins you retain. For a deeper look at the health benefits, you can read more at Healthline.
Factors Affecting Quality: Variety and Freshness
Not all beans are created equal when it comes to long-term storage. The success of freezing green beans depends heavily on the initial quality of the produce.
Selecting the Right Beans
For the best results, choose beans that are:
- Fresh: Ideally harvested in the cool of the morning.
- Young and Tender: Avoid beans that have become tough or stringy, as freezing will not improve their texture.
- Blemish-Free: Discard any beans with rust spots, insect damage, or limp ends.
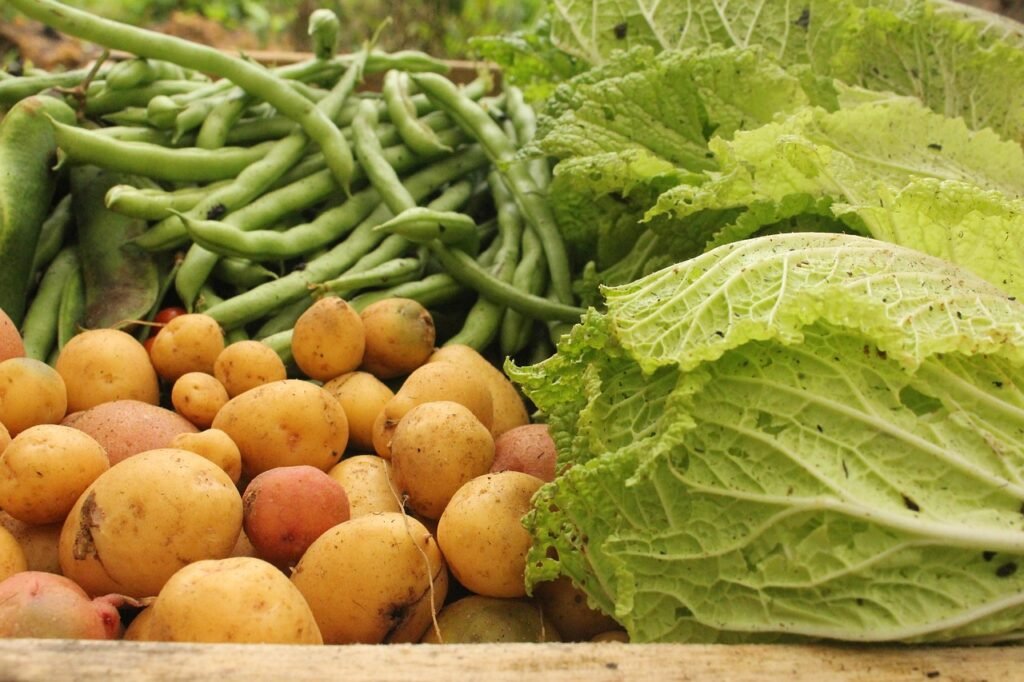
Common varieties in the UK, such as French beans (haricots verts) and runner beans, freeze exceptionally well. However, runner beans often require de-stringing and slicing before processing.
Step-by-Step Guide: How to Freeze Green Beans
The gold standard for freezing green beans involves blanching—a quick boil followed by an ice bath. This process deactivates the enzymes mentioned earlier and cleans the surface of the vegetable.
Step 1: Preparation
Begin by washing your beans thoroughly in cold water to remove any garden soil or pesticide residue.
Next, trim the stem ends. If you are using French beans, you can leave them whole or cut them into 5cm pieces. For runner beans, it is advisable to slice them diagonally into smaller chunks to ensure even freezing.
Step 2: The Blanching Process
Blanching is critical. Without it, you risk poor flavour and texture development during storage.
- Bring a large pot of water to a rolling boil. You need approximately 4 litres of water for every 500g of beans.
- Prepare a large bowl filled with ice and cold water (an ice bath) and set it aside.
- Carefully lower the beans into the boiling water. The water should return to a boil within a minute.
- Boil the beans for exactly 3 minutes. If the beans are very small, 2 minutes may suffice; large runner beans may take 4 minutes.
Using a timer is essential. Under-blanching stimulates enzyme activity and is worse than no blanching, while over-blanching cooks the beans, leading to a mushy final product.
Step 3: The Ice Bath (Shocking)
As soon as the timer goes off, remove the beans with a slotted spoon and plunge them immediately into the ice bath. This technique, known as “shocking,” stops the cooking process instantly.
Keep the beans in the ice water for the same amount of time they were boiled (usually 3 minutes). This step locks in that bright, chlorophyll-rich green colour.
Step 4: Drying
Moisture is the enemy of frozen food. Excess water on the surface of the beans leads to ice crystals and freezer burn.
Drain the beans thoroughly and spread them out on a clean kitchen towel or paper towels. Pat them dry gently. The drier the beans are before freezing, the higher the quality will be.
Step 5: Flash Freezing (Optional but Recommended)
To prevent the beans from clumping together into a solid brick of ice, utilise the flash-freezing method:
- Spread the dried beans in a single layer on a baking tray.
- Place the tray in the freezer for 1 to 2 hours until the beans are solid.
- Once frozen, transfer them to your permanent storage containers.
This method allows you to grab a handful of beans for a meal without having to thaw the entire bag.
Step 6: Packaging
Place the beans in freezer-safe bags or vacuum-seal bags. Remove as much air as possible. Oxygen exposure causes oxidation and freezer burn, which manifests as greyish-white dry spots on the food.
Label the bags with the date of freezing. According to the Food Standards Agency, frozen vegetables are generally safe to eat indefinitely if kept frozen continuously, but quality begins to decline after a certain period.
Storage Duration and Food Safety
For optimal quality, consume your frozen green beans within 8 to 12 months.
The Breakdown of Storage Times
| Storage Method | Quality Retention | Notes |
|---|---|---|
| Vacuum Sealed | 12–18 Months | Best for preventing freezer burn. |
| Ziploc Freezer Bags | 8–12 Months | Ensure air is squeezed out manually. |
| Rigid Containers | 6–8 Months | More air trapped inside leads to faster degradation. |
Always maintain your freezer at -18°C (0°F). Fluctuating temperatures can cause the ice crystals within the beans to melt and refreeze, damaging the cell structure and resulting in a softer texture.
For more on safe storage temperatures, the Academy of Nutrition and Dietetics provides excellent guidelines on home food safety.
Practical Tips for Using Frozen Green Beans
Once you have successfully mastered freezing green beans, utilizing them in your cooking is straightforward. Because they have been blanched, they are partially cooked.
Do Not Thaw
Generally, you should cook green beans directly from frozen. Thawing them beforehand can make them limp.
- Boiling: Add frozen beans to boiling water for 3–5 minutes.
- Steaming: Steam for 4–6 minutes until tender-crisp.
- Stir-frying: Add them near the end of the cooking process, as they release moisture quickly.
Common Mistakes to Avoid
- Overcrowding the Pot: When blanching, if you add too many beans at once, the water temperature drops drastically. This results in uneven blanching. Work in batches.
- Skipping the Ice Bath: Allowing the beans to cool slowly on the counter will result in overcooked, grey beans.
- Freezing Wet Beans: This creates large ice crystals that puncture cell walls, destroying the texture.
For creative ways to use your harvest, sources like BBC Good Food offer numerous recipes suitable for frozen vegetables.
Nutritional Comparison: Fresh vs. Frozen
There is a common misconception that fresh vegetables are always superior to frozen ones. However, fresh produce sold in supermarkets may have been transported over long distances and stored for days, slowly losing nutrients.
Frozen beans, processed at the peak of freshness, retain high levels of antioxidants. A study highlighted by the National Institutes of Health (NIH) indicates that the antioxidant activity in frozen vegetables is often comparable to, or sometimes higher than, fresh vegetables stored in a refrigerator.
Furthermore, freezing is a fantastic way to reduce food waste. The Waste and Resources Action Programme (WRAP) emphasizes that utilising the freezer is one of the most effective ways for households to reduce their carbon footprint by preventing food spoilage.
Blanching vs. No-Blanching: Is It Worth the Effort?
Some home cooks advocate for skipping the blanching step to save time. While this is technically safe, the quality difference is stark.
- Unblanched Beans: Will develop a hay-like smell and bitter taste within 4 to 6 weeks. The texture becomes rubbery.
- Blanched Beans: Retain sweet flavour and crisp texture for up to a year.
Unless you plan to eat the beans within two weeks, blanching is non-negotiable. The University of Minnesota Extension provides detailed scientific backing on why skipping this step is detrimental to quality.
The Bottom Line
Freezing green beans is a straightforward and rewarding process that allows you to enjoy the taste of summer throughout the dark winter months.
By following the blanching method—boiling briefly and shocking in ice water—you halt enzymatic activity, preserving the essential vitamins and the delightful crunch of the vegetable. Remember to dry your beans thoroughly and remove air from the packaging to prevent freezer burn.
Whether you are adding them to a hearty stew, a stir-fry, or serving them as a simple side dish with butter and almonds, properly frozen green beans are a nutritious and convenient asset to any kitchen.
For further reading on preserving garden produce, the Royal Horticultural Society (RHS) offers extensive advice on harvesting and storage techniques. Additionally, consulting the USDA FoodData Central can help you track the specific nutrient profiles of your preserved foods.