Green beans, often referred to as string beans, snap beans, or French beans, are a staple vegetable in households across the United Kingdom and beyond. Celebrated for their satisfying crunch and vibrant colour, they are a versatile addition to Sunday roasts, stir-fries, and fresh salads.
However, the difference between a mediocre side dish and a culinary masterpiece often lies in the preparation. Prepping green beans correctly is not merely about aesthetics; it is essential for ensuring even cooking, optimal texture, and the removal of fibrous, inedible parts.
Whether you are handling standard runner beans, delicate haricots verts, or robust broad beans, mastering the art of trimming and slicing is a fundamental kitchen skill. Proper preparation can significantly elevate the flavour profile of your dish and preserve the bean’s impressive nutritional content.
This guide provides an exhaustive look at professional techniques for selecting, cleaning, trimming, and cutting green beans, ensuring you get the most out of this nutrient-dense vegetable.
Nutritional Overview and Importance
Before diving into the mechanics of knife work, it is vital to understand why green beans are a worthy addition to your diet. According to Healthline, green beans are low in calories but high in essential nutrients.
They are an excellent source of vitamin K, which is crucial for bone health and blood clotting. Furthermore, they provide a significant amount of vitamin C, an antioxidant that supports immune function and collagen production.
Research indicates that consuming a variety of green vegetables contributes to reduced risks of chronic diseases. The fibre content in green beans aids in digestion and helps maintain stable blood sugar levels, making them a smart choice for metabolic health.
Proper prep ensures that you retain these nutrients. Over-processing or improper storage can lead to oxidation and a loss of water-soluble vitamins.
Factors Influencing Selection and Quality
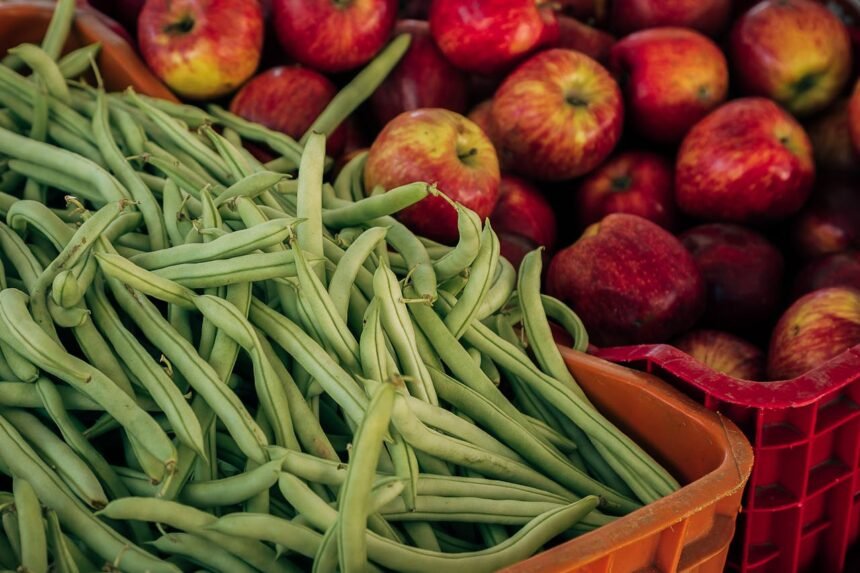
The process of prepping green beans begins at the supermarket or greengrocer. The quality of the raw ingredient dictates the difficulty of the preparation and the quality of the final result.
1. Freshness Indicators
When selecting fresh beans, look for a vibrant, bright green colour. The skin should be smooth and free from dark spots or shrivelling. The most reliable test is the ‘snap’ test: a fresh bean should snap cleanly when bent. If it bends comfortably without breaking, it is likely dehydrated and past its prime.
2. Bean Variety
Different varieties require different approaches:
- Standard Green Beans (Snap Beans): Round and fleshy. These generally require only the stem end removed.
- Haricots Verts: Thinner, French-style beans. These are more tender and often require very minimal trimming.
- Runner Beans: Popular in the UK, these are flat and often have a fibrous ‘string’ running down the seam that must be removed to avoid a gritty texture.
3. Food Safety
Like all produce that grows above the ground, green beans can harbour soil bacteria. The NHS advises washing all fruit and vegetables thoroughly before preparation to remove soil and contaminants.
Essential Tools for Preparation
To achieve professional results, having the correct equipment is paramount. While you can snap beans by hand, a sharp knife ensures uniformity.
- Chef’s Knife or Santoku Knife: A 6 to 8-inch blade is ideal for batch cutting.
- Paring Knife: Useful for de-stringing runner beans or intricate work.
- Large Cutting Board: A stable surface prevents slippage and ensures safety.
- Colander: Essential for thorough washing and draining.
Step-by-Step: Techniques for Trimming and Slicing
There are several methods for prepping green beans, ranging from the traditional hand-snapping method to precise knife cuts used in professional kitchens.
Method 1: The Batch Trim (The Chef’s Method)
This is the most efficient method for processing a large quantity of beans, such as for a holiday meal or meal prep.
- Wash and Dry: Rinse the beans under cold running water. Pat them dry with a clean tea towel. Wet beans can be slippery and dangerous to cut.
- Align the Stems: Grab a handful of beans (roughly 15–20). Tap the ends against your cutting board so that all the stem ends (the woody part that attached to the plant) are aligned perfectly.
- The Cut: Holding the bundle firmly, use your chef’s knife to slice off the stems in one motion. You generally want to remove about 3–5 millimetres.
- The Tails (Optional): Flip the bundle. While the tapered ‘tail’ is edible and often left on for rustic appeal, you can align and chop these off if you prefer a uniform cylinder shape.
Method 2: Hand Snapping (Traditional)
This method is time-consuming but therapeutic and requires no board. It is ideal when you are prepping a small amount or involving children in the kitchen.
- Pick up a single bean.
- Pinch the woody stem end firmly.
- Bend it backward until it snaps off.
- If dealing with runner beans, pull the snapped end downward along the seam to unzip the fibrous string.
Method 3: The French Cut (Julienne)
Frenching green beans transforms their texture, making them elegant and quick-cooking. This involves slicing the bean lengthwise.
- Trim the ends as usual.
- Place one bean on the board.
- Carefully run a sharp paring knife down the centre of the bean, splitting it into two long, thin strips.
- Alternatively, you can use a dedicated ‘bean frencher’ tool, which clamps onto the side of a table and slices the beans as you feed them through.
Method 4: The Bias Cut
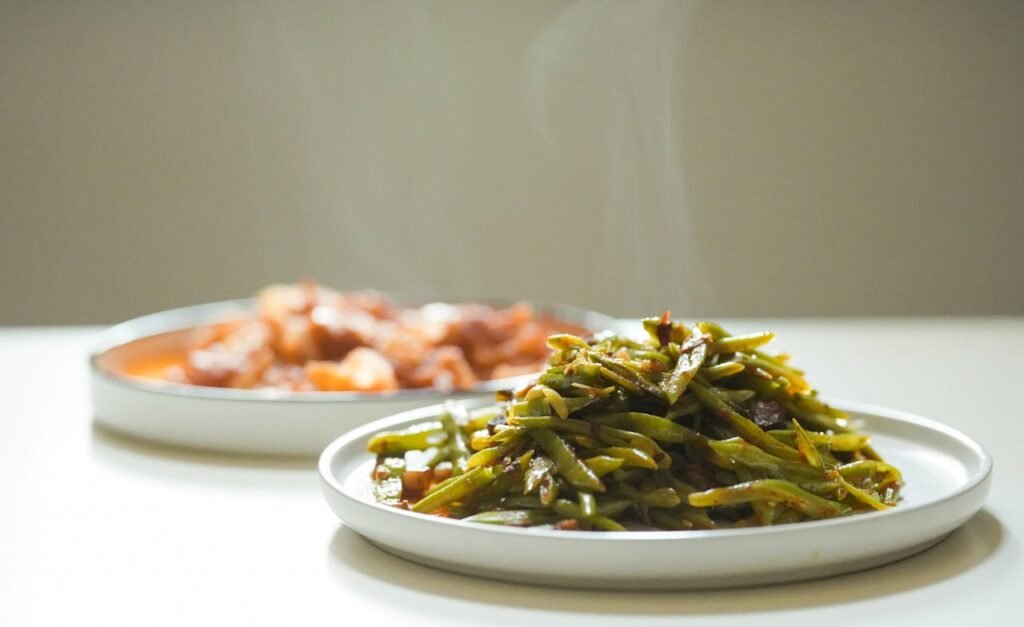
Cutting on a bias (diagonal) increases the surface area, which is excellent for stir-fries as it allows the bean to absorb more sauce.
- Align your beans as per the Batch Trim method.
- Angle your knife at 45 degrees relative to the beans.
- Slice the beans into bite-sized pieces (usually 2–3 cm long).
Comparison of Cutting Styles
| Cut Style | Best Used For | Texture Profile | Prep Time |
|---|---|---|---|
| Whole (Trimmed) | Roasting, Steaming | Crunchy, juicy | Fast |
| French Cut | Salads, Sautéing | Tender, delicate | Slow |
| Bias Cut | Stir-fries, Casseroles | Softer, sauce-absorbing | Medium |
| Bite-Size | Soups, Stews | Soft, integrated | Medium |
Practical Tips for Storage and Cooking
Once you have finished prepping green beans, how you handle them immediately afterwards dictates the final quality.
Blanching and Shocking
If you are prepping beans in advance (meal prepping), you must blanch them. Serious Eats explains that blanching deactivates enzymes that cause loss of flavour, colour, and texture.
- Boil a large pot of salted water.
- Drop the trimmed beans in for 2–3 minutes until bright green.
- Immediately transfer them to a bowl of ice water (an ice bath).
- Drain and dry. These can now be refrigerated for 3–5 days without losing their crunch.
Freezing Instructions
According to the National Center for Home Food Preservation, blanching is mandatory before freezing. Freezing raw beans results in a mushy texture upon thawing due to ice crystal formation damaging the cell walls. After the ice bath and drying steps above, freeze them in a single layer on a baking sheet before transferring to a bag. This prevents clumping.
Dealing with Stringiness
If you find your beans are tough after cooking, it is likely due to the variety or age of the bean. Older beans develop more lignin (woodiness). For these, increasing the boiling time or using them in slow-cooked stews is preferable to quick sautéing methods. The Royal Horticultural Society notes that harvesting beans while they are young and tender is the best way to avoid stringiness.
The Bottom Line
Prepping green beans is a foundational culinary skill that bridges the gap between raw produce and a delicious meal. While it may seem like a simple chore, the attention to detail—removing the tough stem, checking for strings, and choosing the right cut for your specific recipe—makes a tangible difference to the dining experience.
By utilising the batch trimming method, you can save significant time in the kitchen. Meanwhile, techniques like Frenching or bias cutting allow you to alter the texture and presentation to suit elegant dinner parties or quick weeknight stir-fries.
Remember to select firm, vibrant beans and wash them thoroughly. Whether you are blanching them for a salad or roasting them whole with garlic, proper preparation ensures you are getting the maximum nutritional benefit, including vital fibre and vitamins.
Incorporating these professional techniques will not only speed up your cooking process but also ensure that your green vegetables are always the highlight of the plate, rather than an afterthought.
Additional Resources
For further reading on vegetable preparation and nutrition, consider these sources:
